THE LOG HOME EXPERIENCE

An educational series by eLoghomes

The Log Home Experience is an educational series by eLohomes, meant just for you. From the time you first dream of log home living, until you are relaxing and unwinding in your finished home, our goal is to help make your journey easy and rewarding.

Six Things I Wish I’d Known Before Building My Log Home

Sheelah Pfeffer turned a frustrating log home situation into an entirely new career. When her general contractor stepped back from building her log home, she quickly climbed the learning curve from being a home-building novice to an accomplished general contractor herself, in the state of Tennessee. Today, she builds log homes for others. We caught up with Sheelah recently and asked her to share her fascinating story. We also asked what she wished she had known before she built her first log cabin. Below, discover the six tips that Sheelah shared with us.

Sheelah was building her first log cabin by eLoghomes near Gatlinburg, Tennessee, when she found herself in a frustrating position: after the shell of her log home had been erected, the general contractor she had hired to oversee the overall construction stepped back and left the completion of her home hanging in the balance.

“The general contractor I hired – who was not affiliated with eLoghomes – stopped paying attention to the completion of my home. At first I was frustrated, but then I began to realize that I could direct the subcontractors myself,” Sheelah said. “I decided to become certified as a general contractor in the state of Tennessee.”

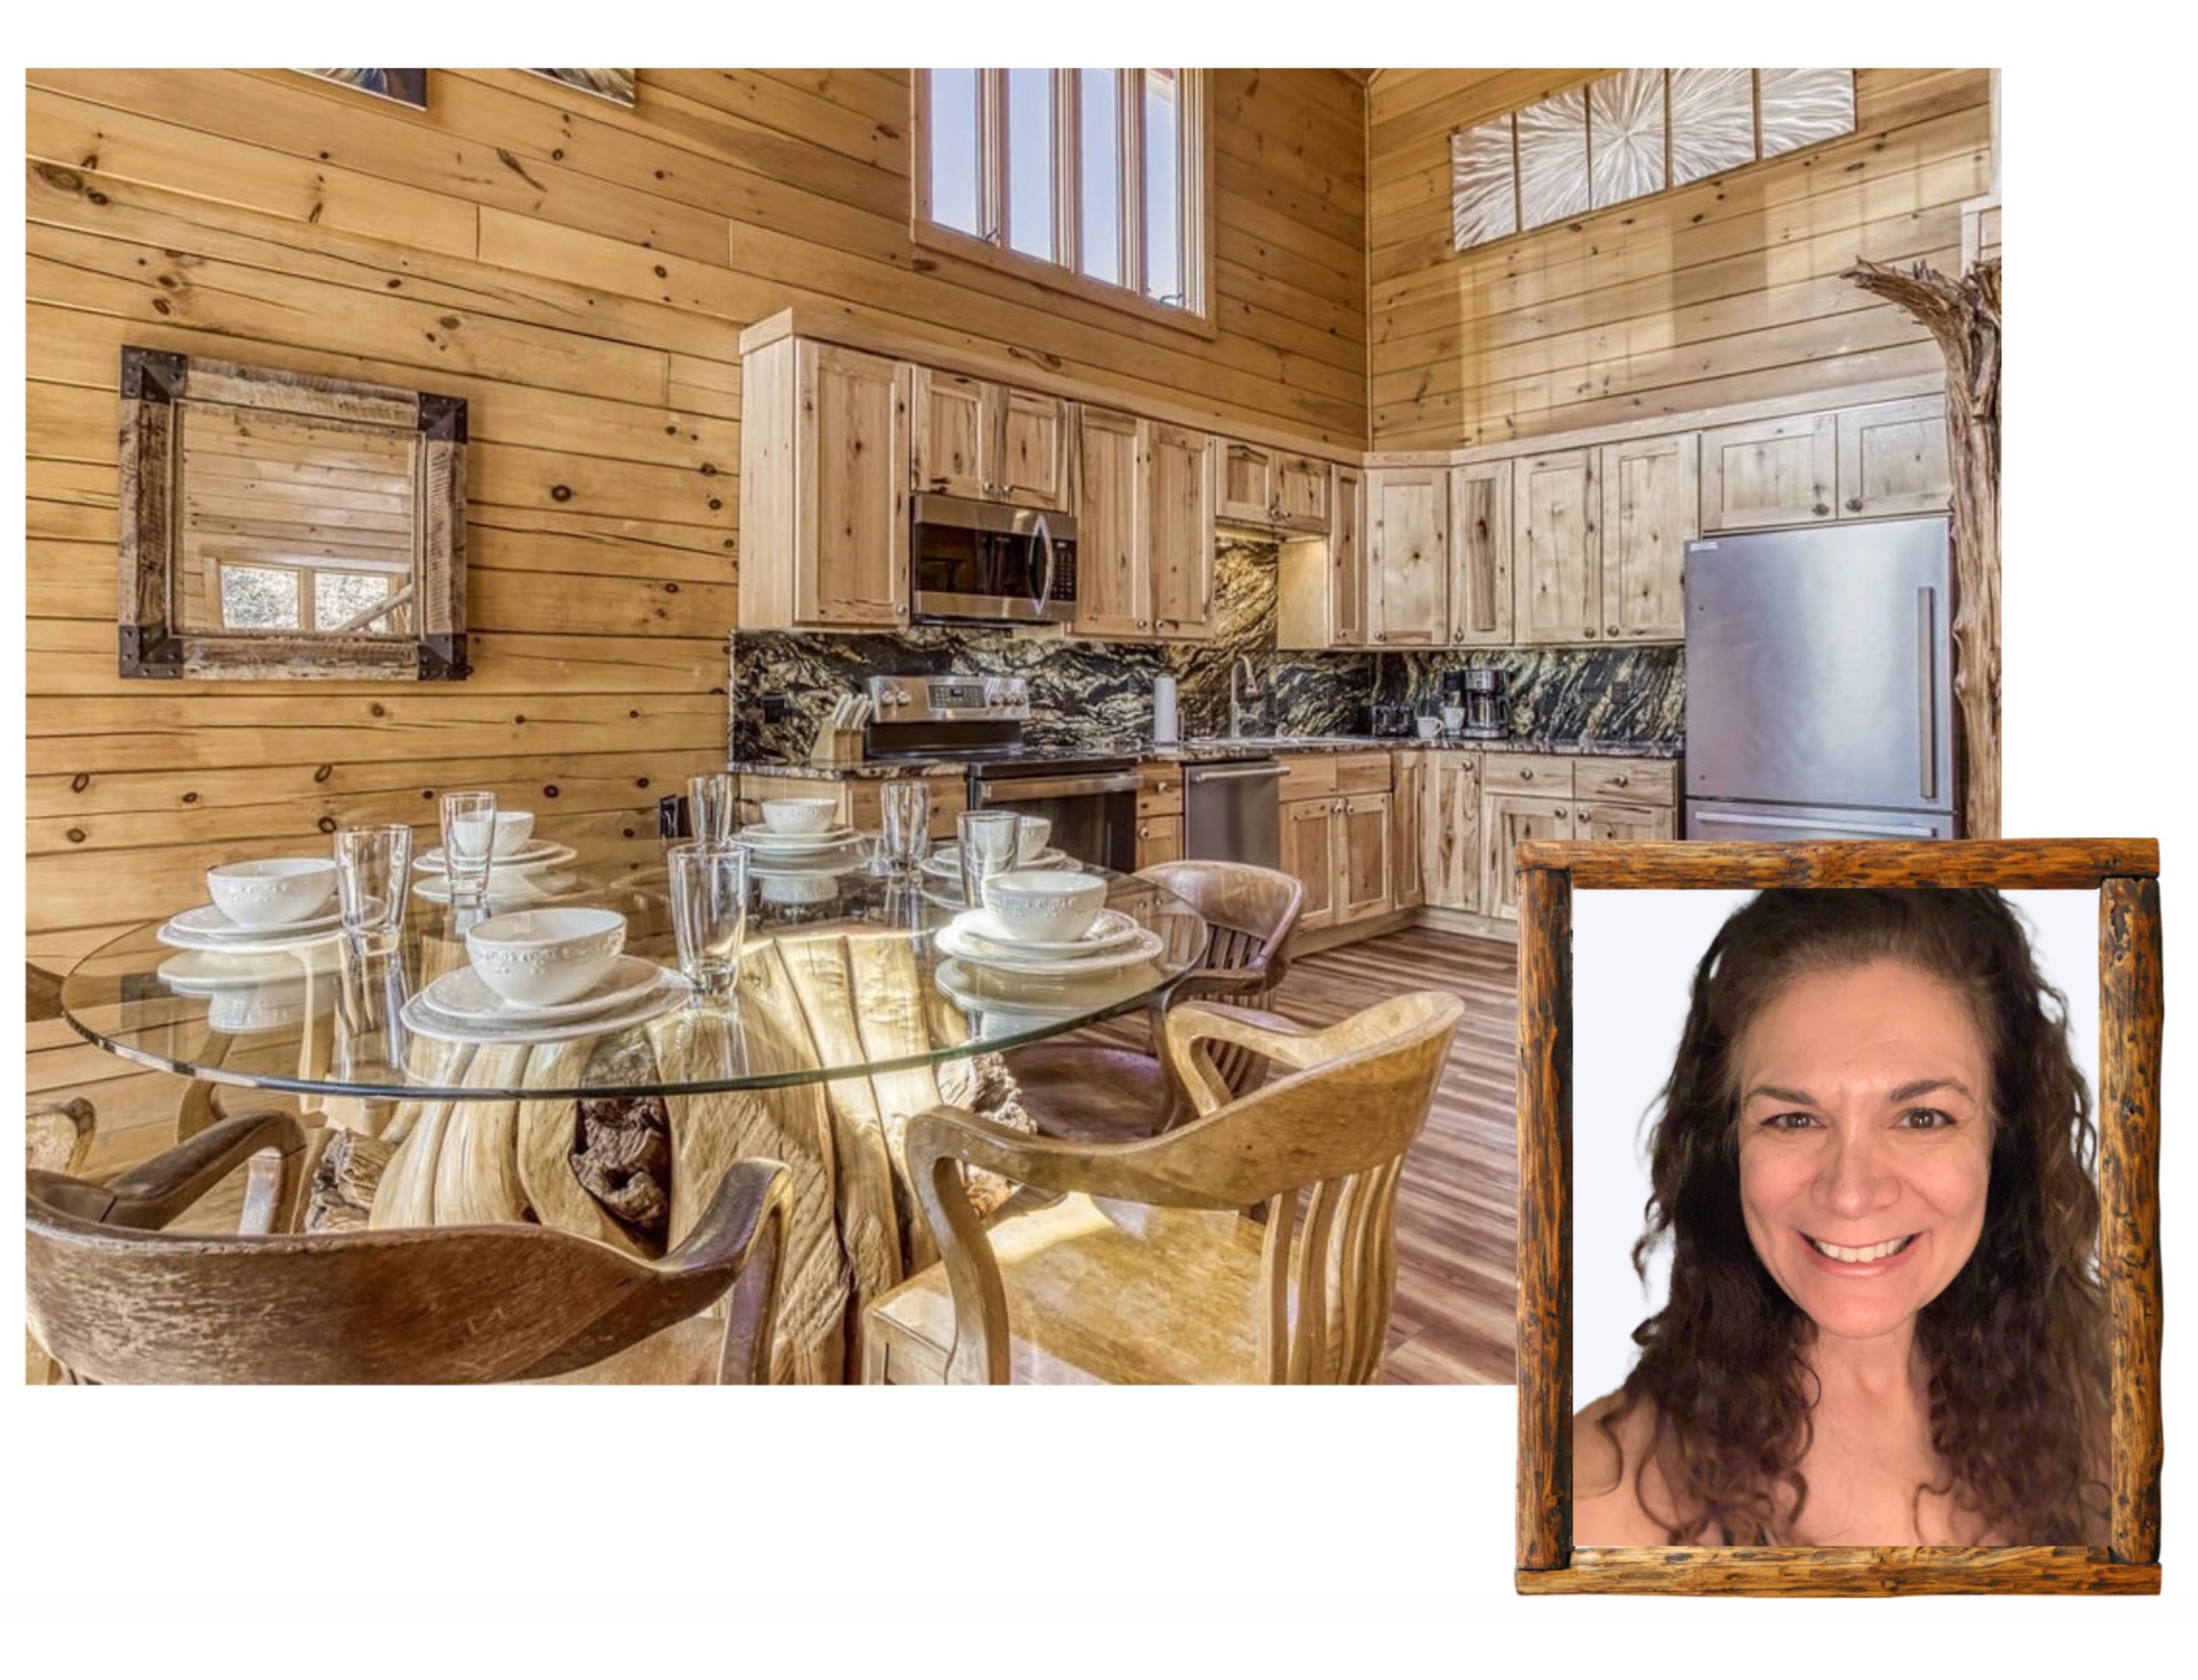
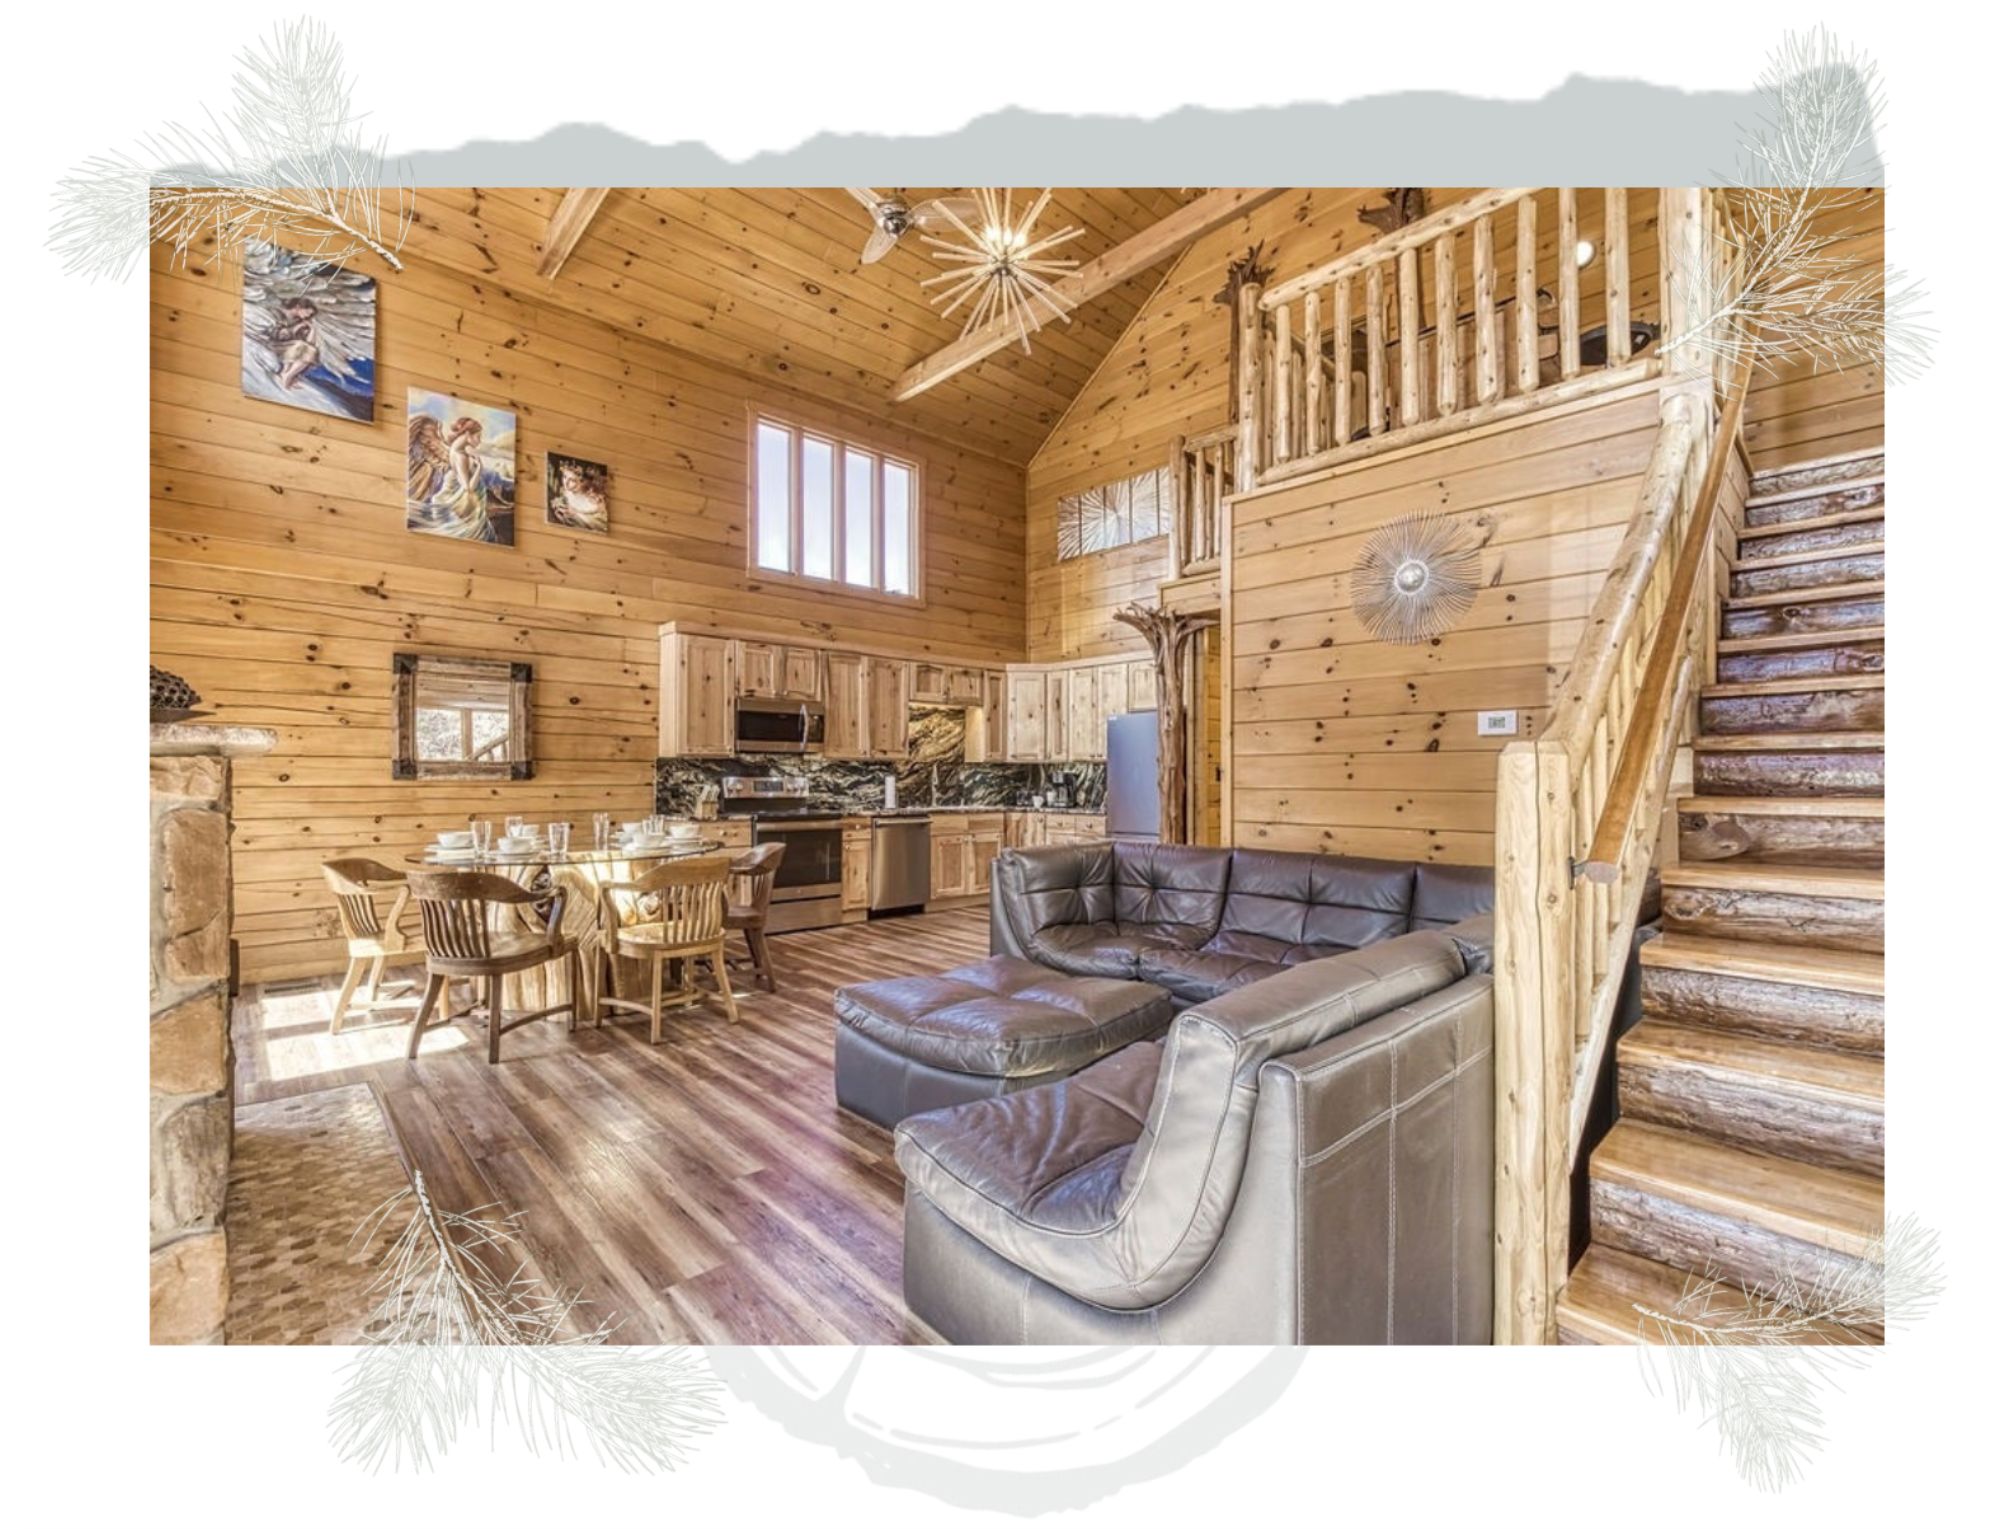
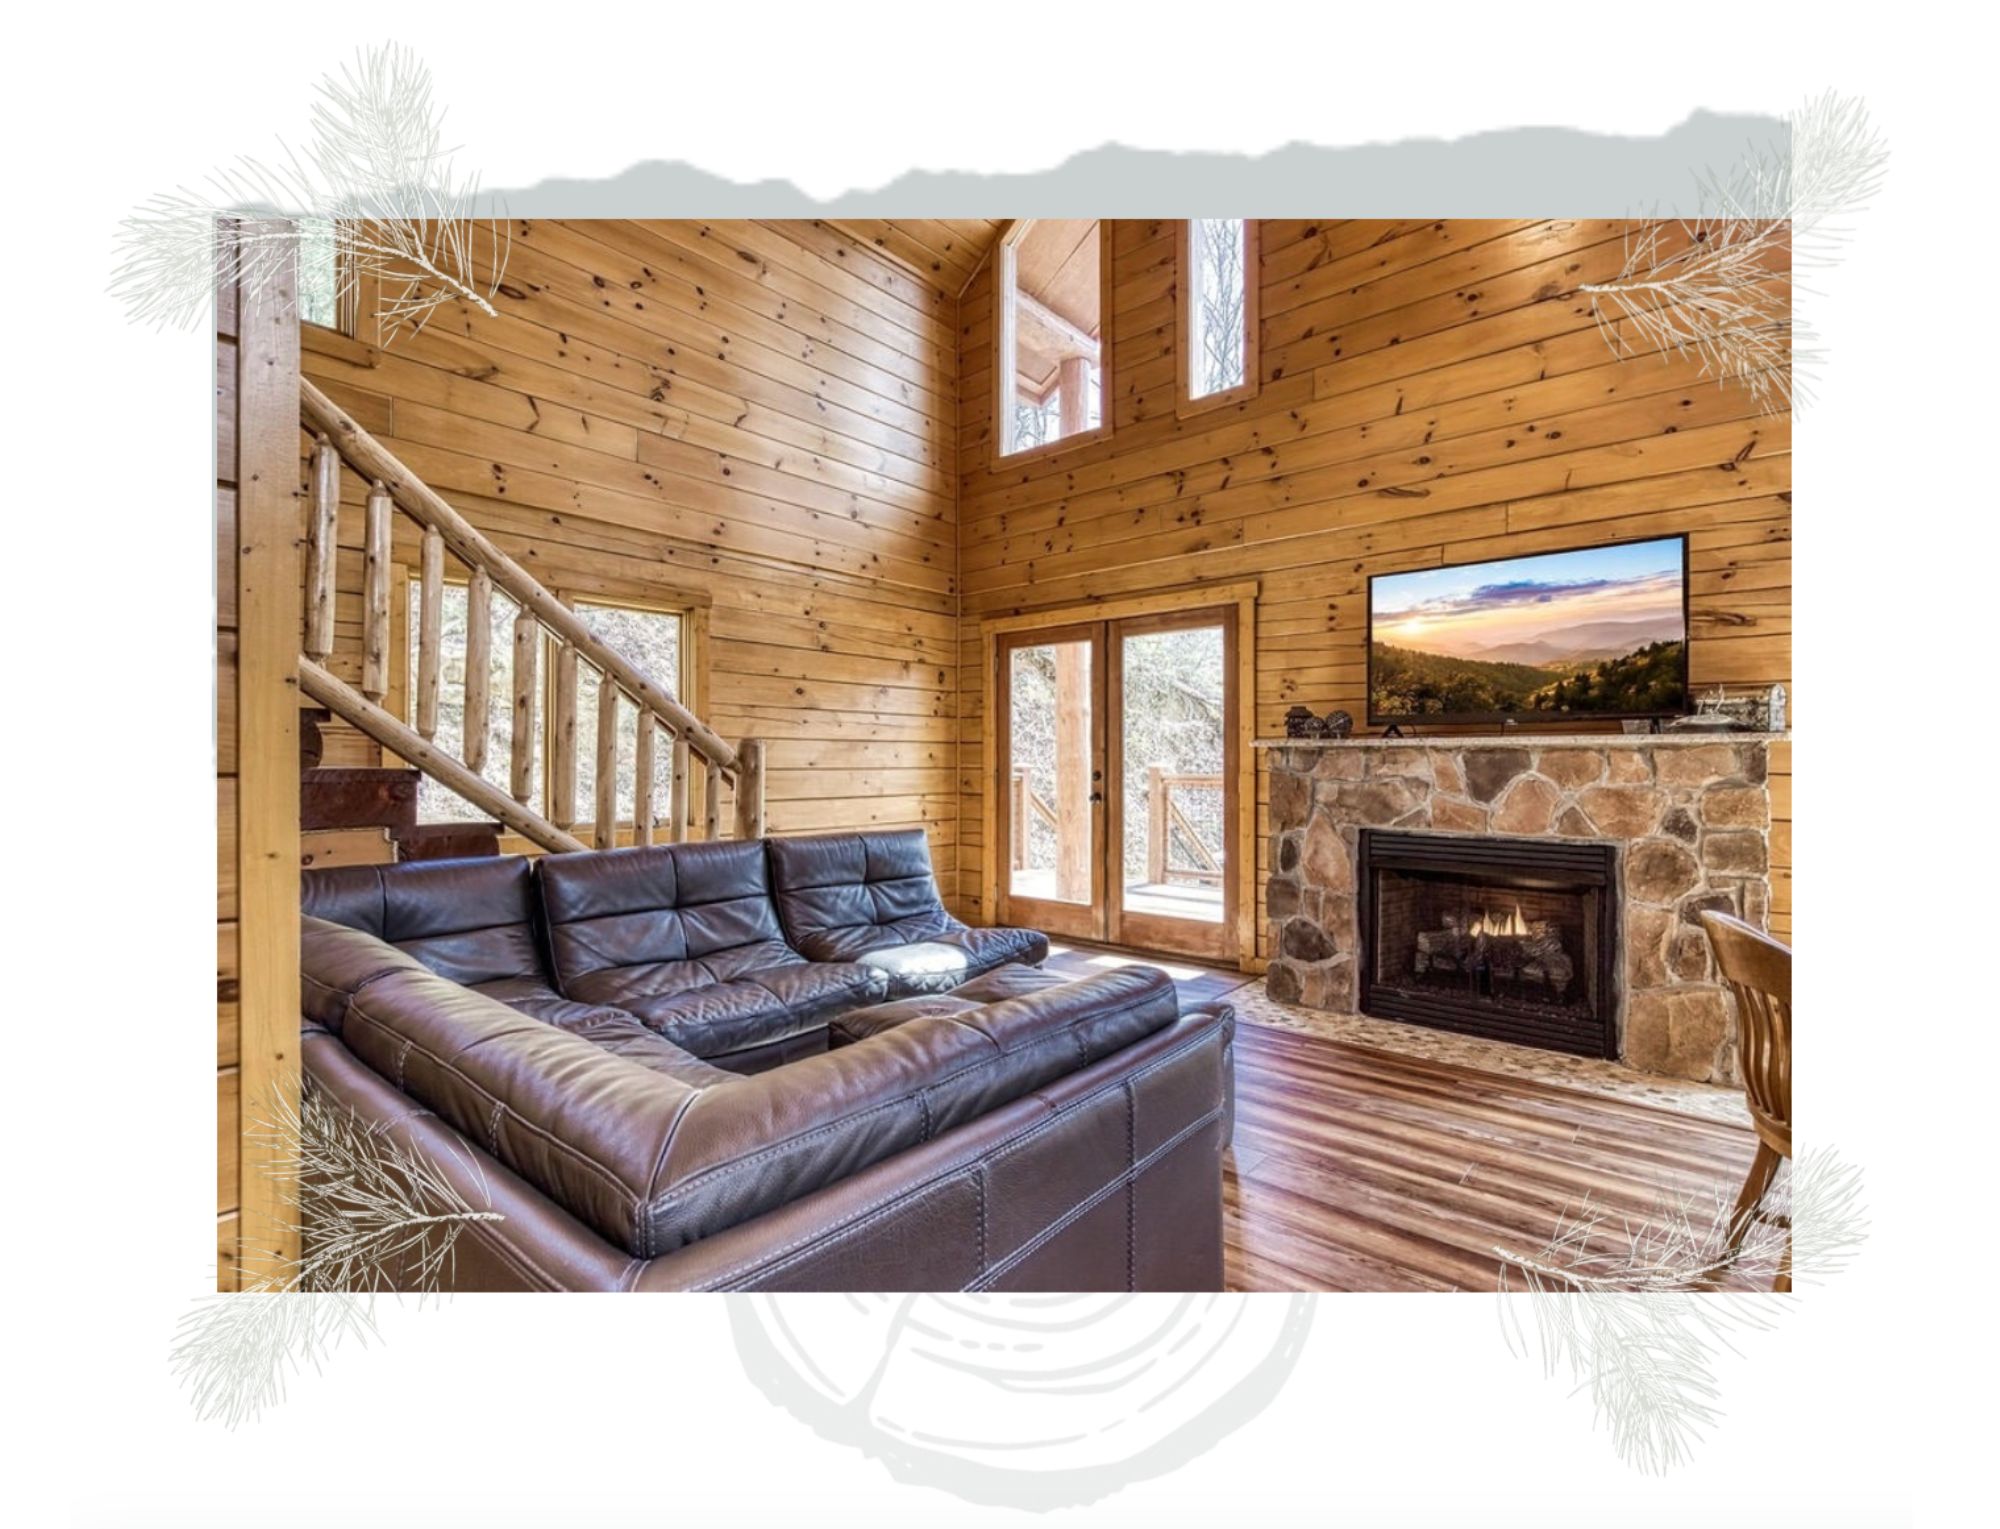
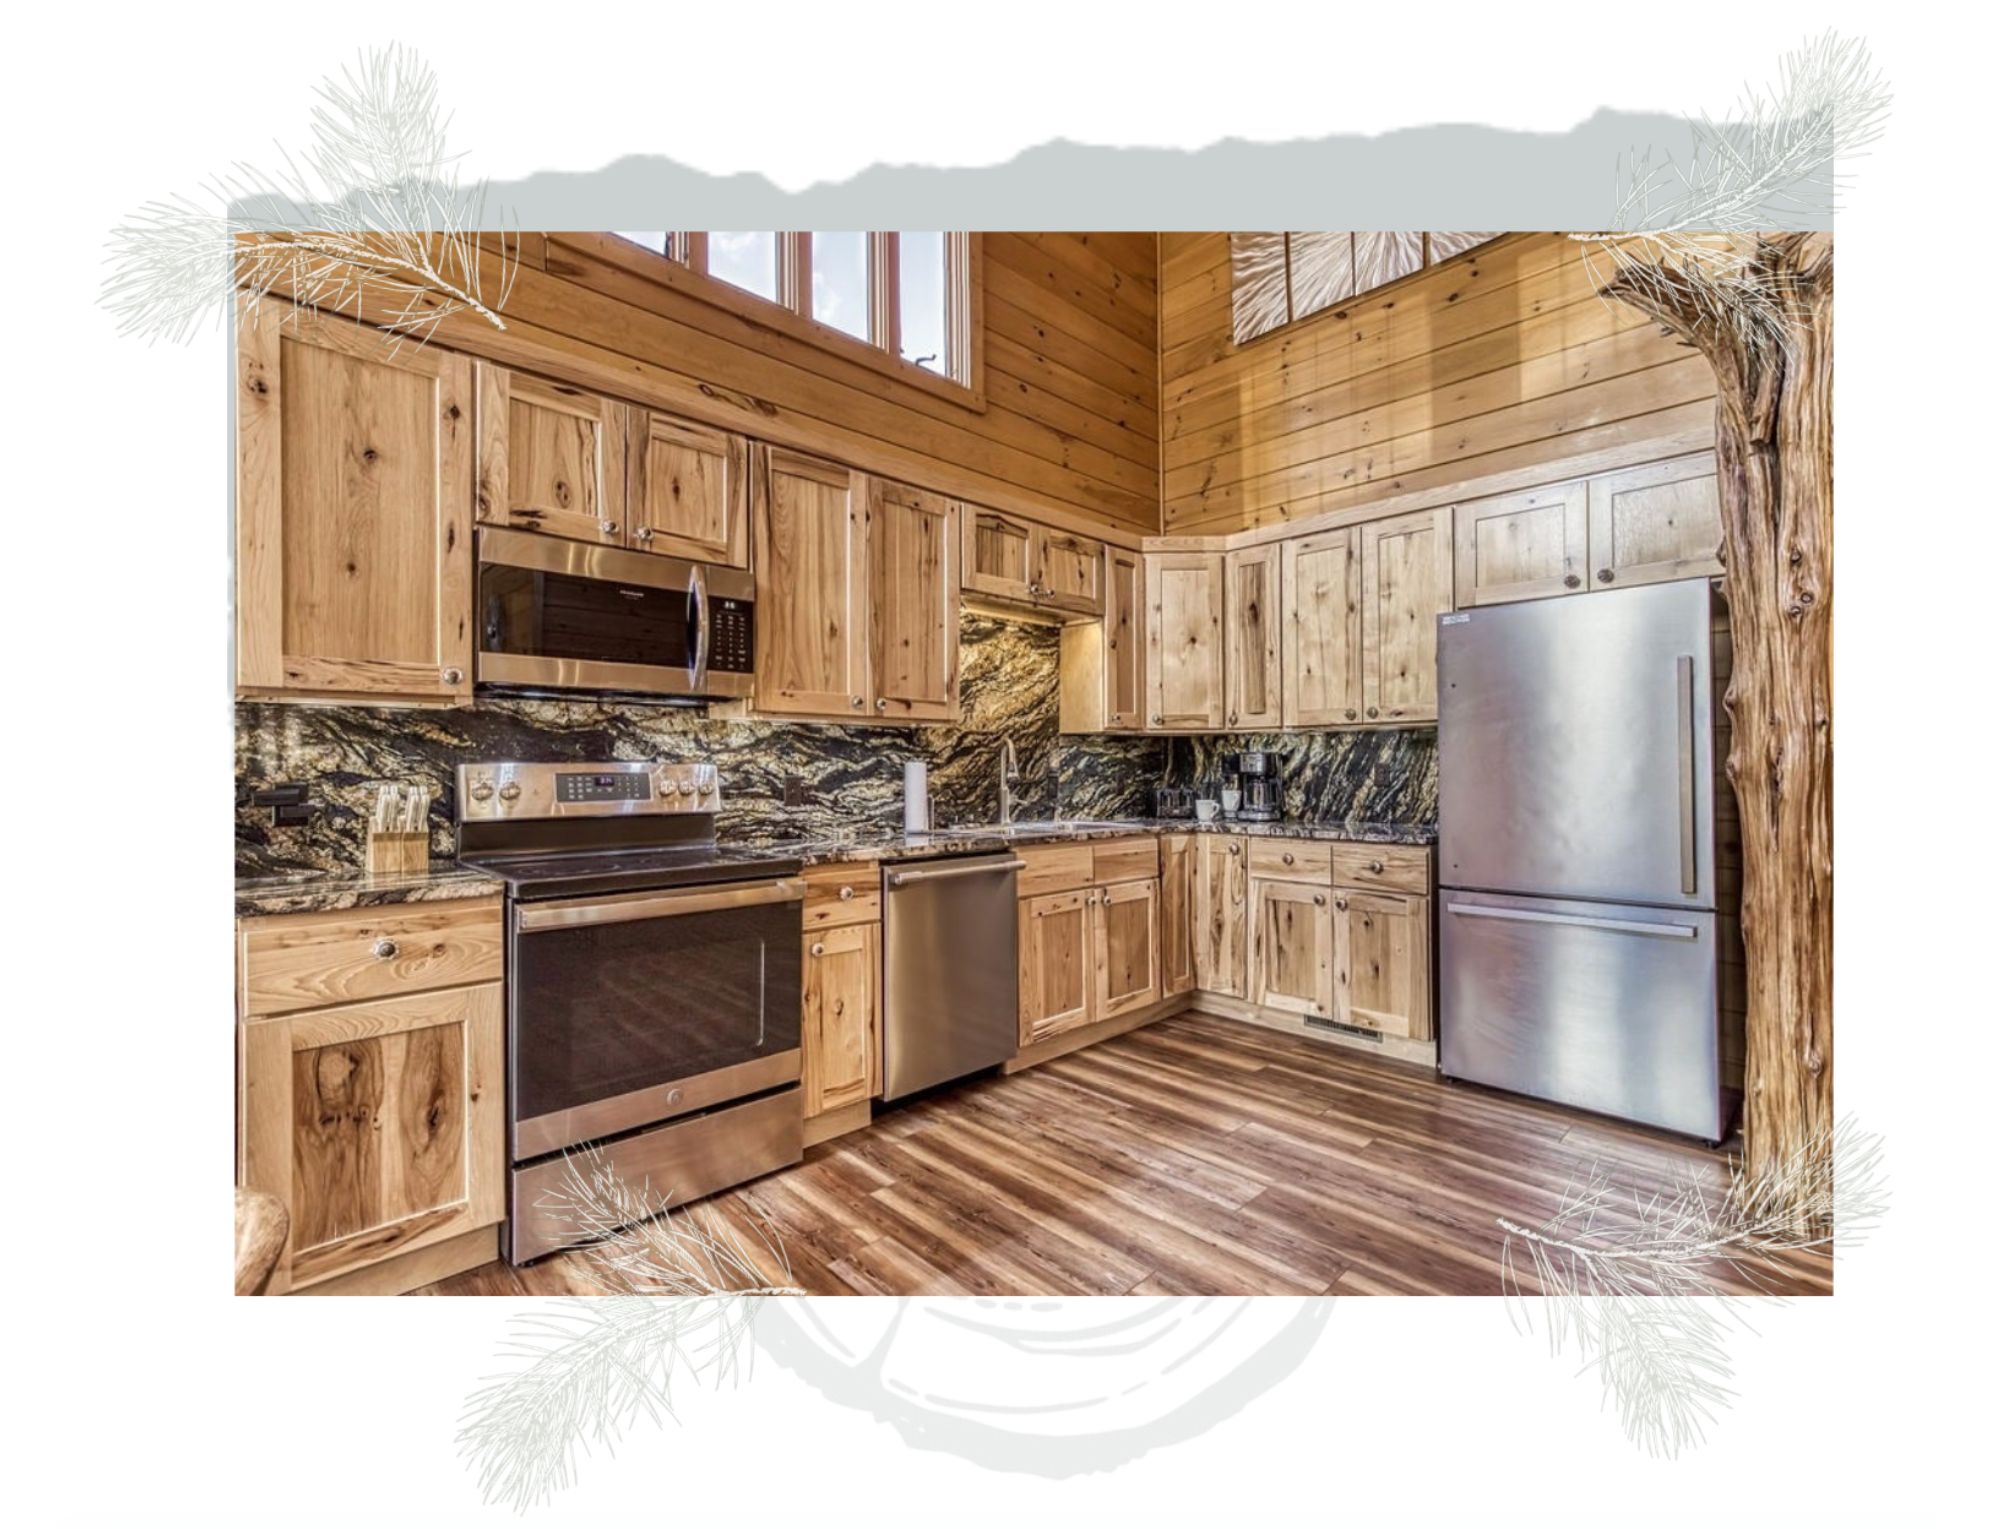
With a determined attitude, Sheelah studied hard for months and passed the grueling nine-hour exam to get her certification. Not only did she complete her own eLoghomes model – the Teton – but she then pivoted from her nearly 30-year teaching career to open her own construction firm. Now that she is building eLoghomes for other customers, Sheelah gladly shared the following photos of her home, plus six tips she wished she had known before she started on her first project.

TIP #1

Foundations sometimes take longer than you anticipate.

“A flat lot may be easy,” Sheelah said. “But if your land has any kind of slope, is on mountainous terrain, or is small or near your septic system, all of these factors can affect the process. You have to take that foundation down to solid undisturbed earth, and unknowns sometimes crop up.”

“An easy foundation might be done in a week to ten days. But if you have a foundation that needs to be engineered in any way, then you could be talking about a month or more. Remember that a foundation requires several steps: excavation, rebar, inspection, concrete poured, masonry done.”

TIP #2

Hire a general contractor who will keep you posted every step of the way.

While Sheelah’s story with the missing general contractor turned out to be a blessing, she recommends vetting your general contractor with extreme care. “You should be super comfortable with this person, and make sure he or she is willing to communicate often. They should be willing to tell you what’s going on every step of the way and should constantly let you know what the next steps will be,” she said.

TIP #3

Make sure you're aware of the septic rules in your area.

“Be aware of how far away your house must be from the septic system, and how far the system must be from field lines and setbacks. Your septic system also can’t be within 25 feet of natural runoff. Even a little trickle of water is a stay-away,” Sheelah said.

TIP #4

Secure your crawl space to keep animals and critters out.

“Gophers, squirrels, and other small animals sometimes like to find a nice warm spot to build a nest in under your home,” Sheelah said. “I’ve even heard of one instance where bears decided to hibernate in a crawl space!”

Since heating units are often located beside or underneath the home, Sheelah recommends installing casing around the units to deter the animals. This, along with a secure wood or metal door to the crawl space, can save money on any repairs caused by animal damage. “The best part about log home living is that you’re among nature, but you also have to secure against nature’s creatures at times,” Sheelah said.

TIP #5

Protect your home against the possibility of fires.

“There’s a program called Firewise for fire prone areas, which operates under the NFPA – the National Fire Protection Association,” Sheelah said. “They tell you how to protect your home by doing things such as clearing a 40-foot area around the house, keeping your land clear of debris, and planting fire-safe plants. There are even Firewise groups you can join, and these communities help each other with clean-up days, clearing out excessive pine needles, and sharing information.” (Visit Firewise.org for more information.)

TIP #6

Realize that you can add handcrafted touches throughout your home.

“I learned to add custom features in places I hadn’t earlier thought of,” Sheelah told us. “I found an idea on Pinterest for a custom set of steps carved out of large blocks of wood. I added a tread to bring it up to code,” she added. “I also used fancy posts instead of regular posts. I added gorgeous upside-down cedar trunks to my kitchen (such as the one in the photo at left), and master bedroom. I am a creative type, and I have found so many fun ways to add custom touches to a log home.”

If you are traveling to the Gatlinburg area, you can vacation in Sheelah’s “Teton” model by eLoghomes. You can find and book it here: Breath of Heaven at VRBO.com.

Connect with Michael, your eLoghome
advisor.

Start Today!

Ask about our NEW Platinum Energy Efficiency Package